Description
200 rectangular pins 68x44mm in assembly kit
Pack of 200 rectangular 68x44mm pins with pins, to be personalized.
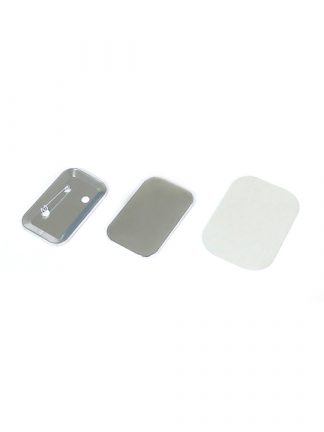
Each of the rectangular pins is made up of:
– a rounded blade for the front of the pin
– an acetate film for lamination
– back composed of pin closure
Instructions for use
STEP ONE
Create and print the graphics for your rectangular pins
The first step (which is also the most creative and fun) is to create the graphics of your pins. Attention, however, to the measurements of your graphics: write us to find out more, soon we will upload a template with the exact measurements.
STEP DUE
Print and cut out the graphics of your rectangular pins
Created the graphics? Now print it on a sheet of A4 paper. What is used for photocopies (thickness between 80 and 90 g / qm) will be fine.
STEP THREE
Assemble your rectangular pins
If you have performed the first two steps correctly, you are almost ready for the assembly phase.
With the appropriate press, which find here and complete the last three steps:
– insert the rounded plate, the already cut out graphics and the acetate film for lamination in the first station
– insert the pin holder plate in the second station
– rotate, press (starting from the first station, then move on to the second) and the pin is done!